

6 Mobile Photography Tips Every Photographer Should Know
by Kyla Stewart of Outreach Mama
Having been around for a while, we’re sure you know all about how advanced phone cameras have gotten. Gone are the days when people had to lug bulky professional cameras around for their shoots. Today, even the biggest influencers and vloggers prefer to use their phones instead of heavy equipment.

This is simply because they know they can get amazing results on their phones that rival those of any camera’s. But if you’ve been unable to take the perfect photos from your phone, or you just don’t understand how people manage, maybe it’s time to learn a few new tricks.
Here are some phone photography tricks that will knock your photos out of the park and help you get that perfect shot!
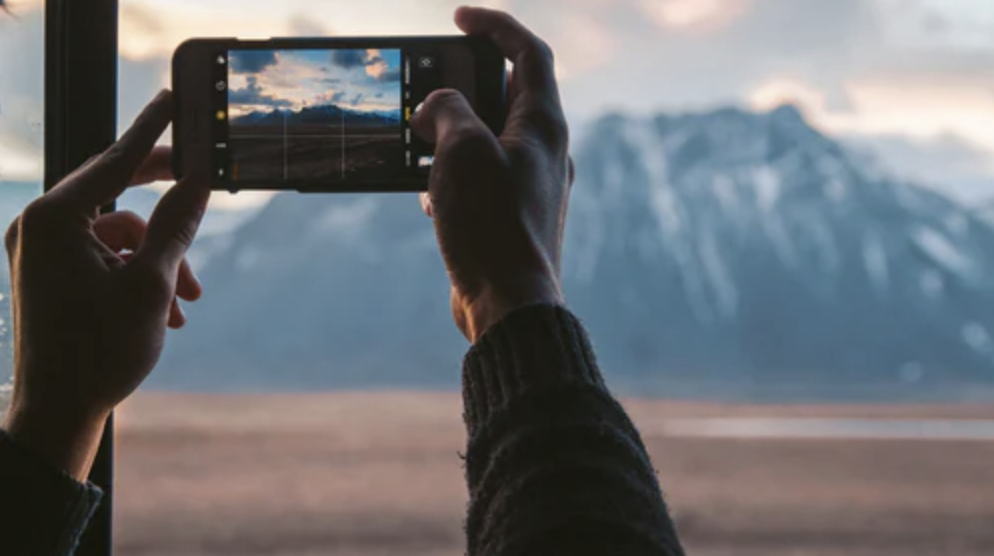
Activate the Grid
There is a feature on almost every mobile phone that creates a 3×3 grid on the photo app’s display. This allows you to properly proportion your photos according to the rule of thirds, and lets you keep it all symmetrical.
It's even useful when you’re taking selfies. In it’s blog about tips for girl selfie photo poses, FaceTune mentions how tilting your head in a selfie is a great way to mix it up a little and we’ve all done it whether you notice it or not. With the help of a grid being visible, you can make sure the selfie is proportional even when you’re trying out wacky stuff like the head tilt or the half-face selfie!
2. Use the HDR Mode
Many times, you want to take a photo where you just can’t get the exposure right. This usually happens when you’re taking landscape photos. Getting the part with shadows or a little definition right leaves the sky looking out of order, but getting the sky right means everything on the ground is dominated by shadows.

This is where HDR comes in. With its help, you can capture landscape photos that look just right, and capture all the details in both the bright and the dark parts of the scene you’re trying to capture.
3. Use Portrait Mode
If you’re taking someone else’s photo (or even your own), the portrait mode can be a great way to put yourself front and center, and have the background take the back seat, so to speak. Just scroll through the different modes in your camera app until you get to this one, and see the magic happen.
In many of the latest smartphones, once the photo is taken you can even go back to it and determine how blurry (if at all) you want the background to be. If you’re not happy with the results, you can just choose to sharpen the background and it’ll look like you took the photo in normal mode.
4. Get the Focus Right
If you’re taking photos of something up close, or of a scene with a lot happening, you can choose what to put front and center. Many cameras automatically focus on faces and otherwise on the center of the screen, but you can change that with a single tap of your finger - literally!

If the phone is too close to the object, the camera won’t be able to focus on it. Usually just moving your camera back a few centimeters does the job and improves the clarity.
5. Clean Your Lenses
This might seem like a small thing, but you wouldn’t believe the number of times people forget this one simple step. Dirty lenses make for some pretty blurry and low-quality photos, which definitely isn’t what you’re going for here.
6. Keep the Phone Steady
When you’re taking photos in the dark, they have more chances of coming out blurry. This is because the camera shutter time for those photos is longer to allow enough light to pass through. On the other hand, photos taken in enough light don’t get blurry that easily, but it can still happen.
When taking photos, try to steady yourself against a wall or a tree, or better yet use a tripod to hold the phone instead.